The hard part of a nose-bridge consultation is deciding "how much" to raise it.
Too little and the change barely reads; too much and it starts to look done. So the conversation tends to stall at "something natural."
To put that "something" where you can actually see it, we raised the bridge in stages.
Stage 2 was applied on top of the Stage 1 result.
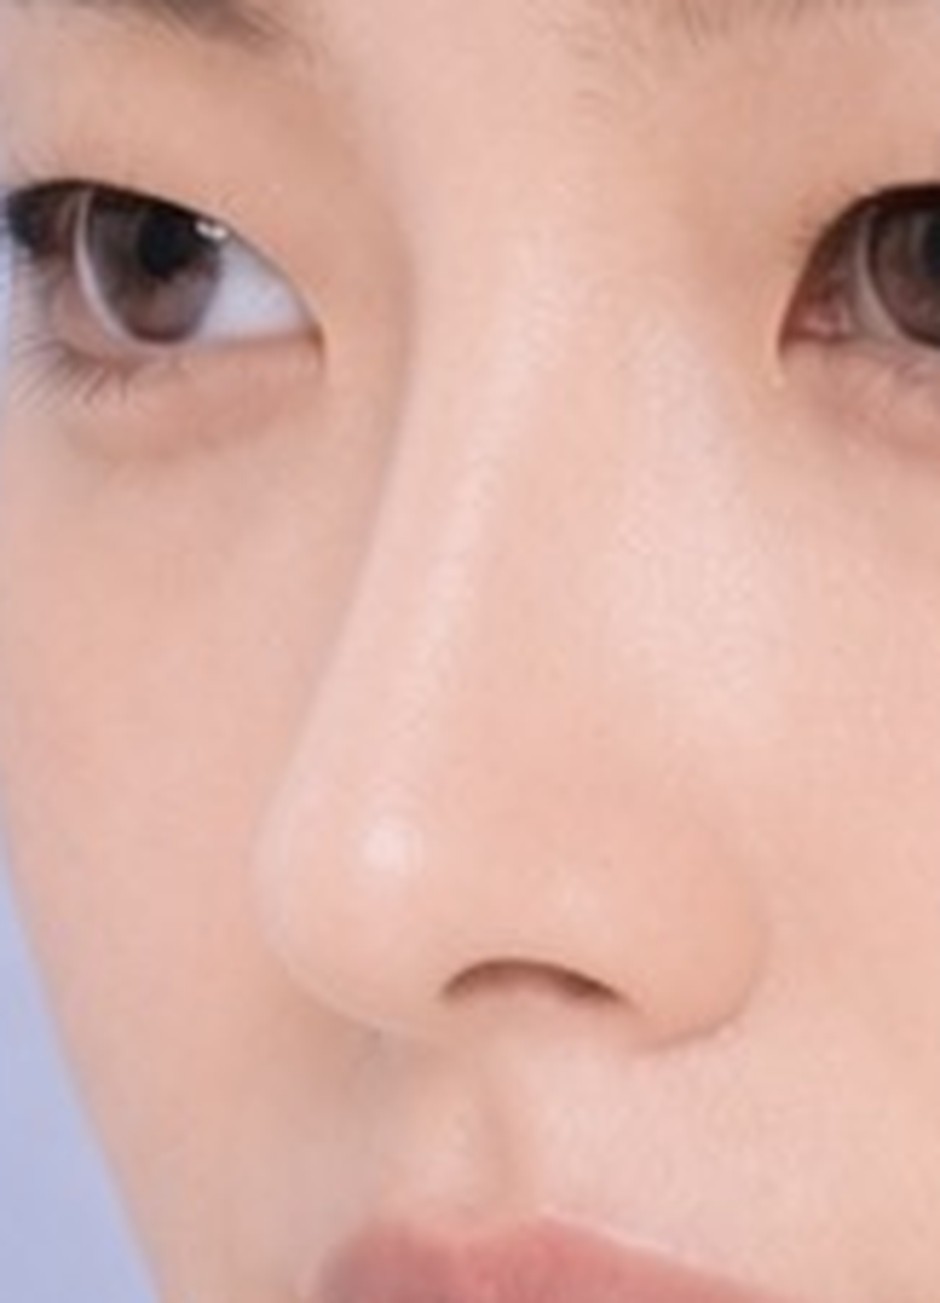
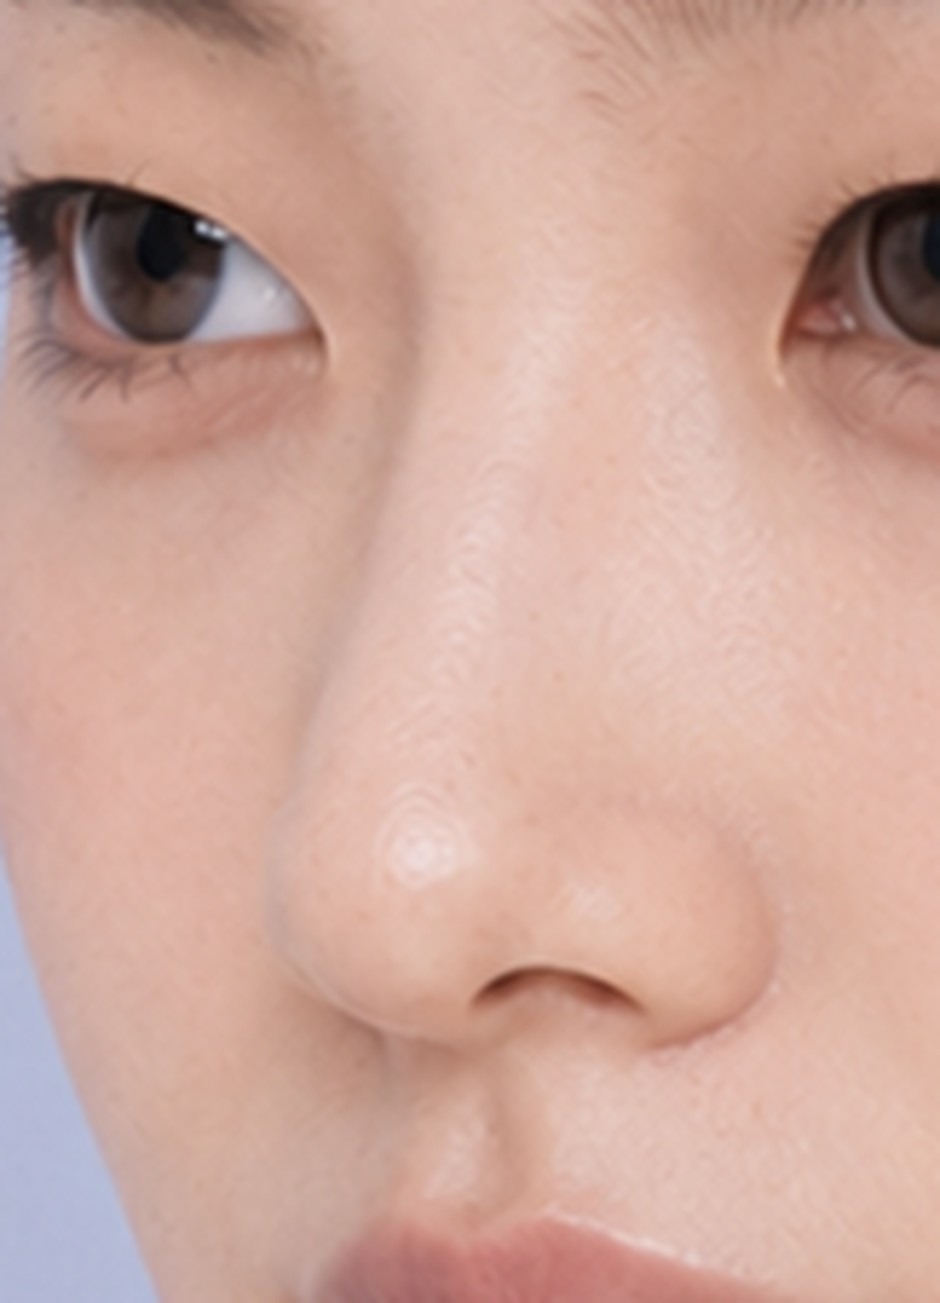 Original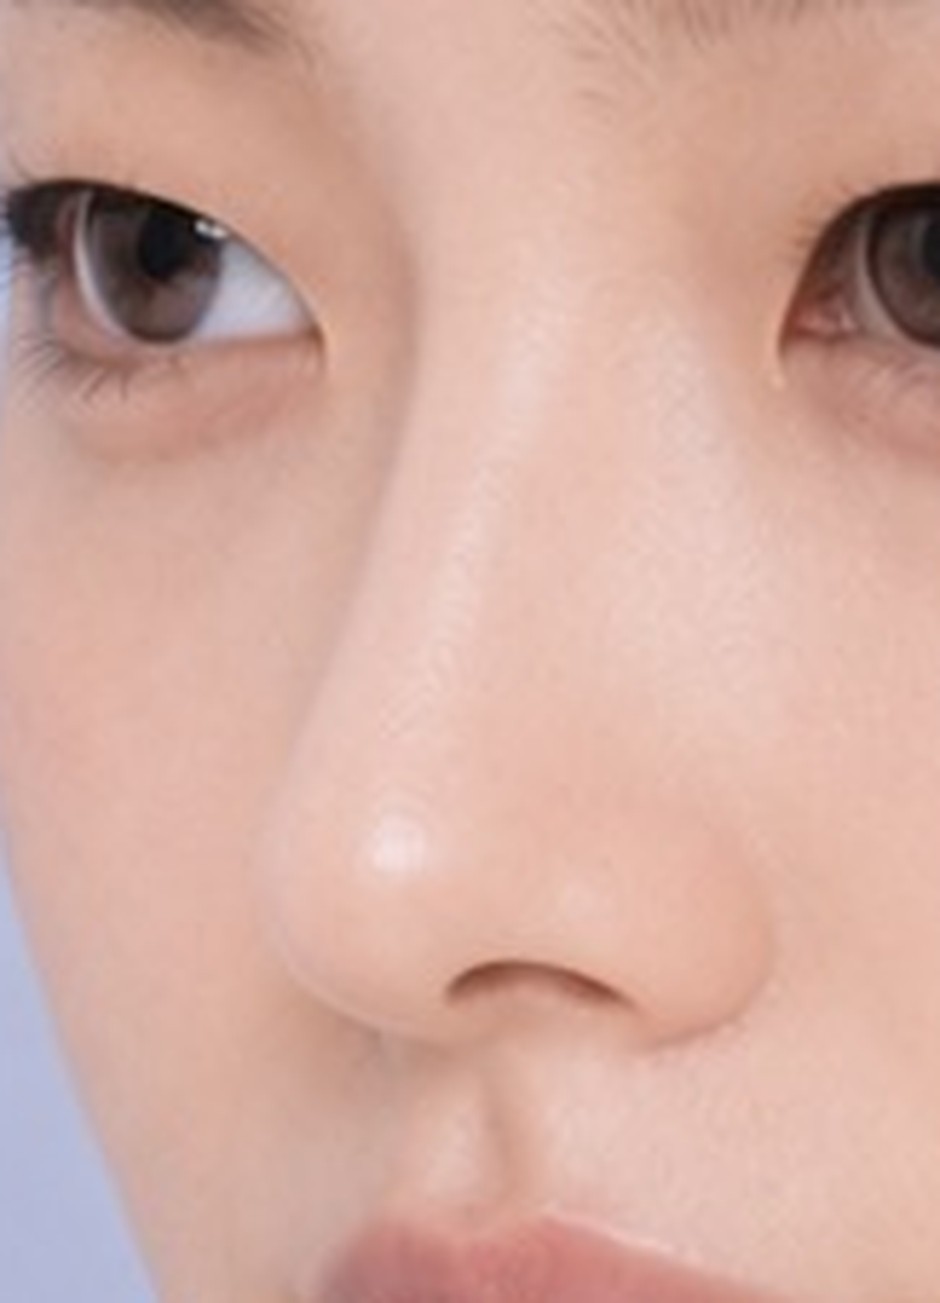
Original — Before. The bridge line is gentle.
Stage 1 — The bridge stands up and the tip gets refined.
Stage 2 — The bridge straightens into a crisp line. This is where it starts to look "done."
This time the difference between stages showed clearly. The intensity changed with combinations of different procedures, not with repetitions of the same one.
Here it is on the full face.
 Original

Original — Before.
Stage 1 — Subtle enough that nobody asks "did you get your nose done?"
Stage 2 — Clearly higher. The center of the impression shifts to the nose.
What to ask at your consultation
- At what point does added bridge height start to show on my face?
- How do the results differ between raising only the bridge and addressing the tip along with it?
- Should the height be decided from the front view or from the profile?
Height is easier to talk through with staged photos than with numbers alone.