Copying the nose from a reference photo does not make you look like the person in the photo. One feature alone doesn't carry the impression that far.
Which leads straight to the next question.
"Then how much would it take to become that face?"
So we took one person's frontal photo and applied the steps in order, from the nose and jaw all the way to the eyes. Each feature was changed only once. Real consultations don't plan three operations on the same feature either.
The reference photo
We assumed the kind of reference photo people bring to a consultation. Every step below was matched against it.

Start and finish
The result first.
Adding the steps one at a time
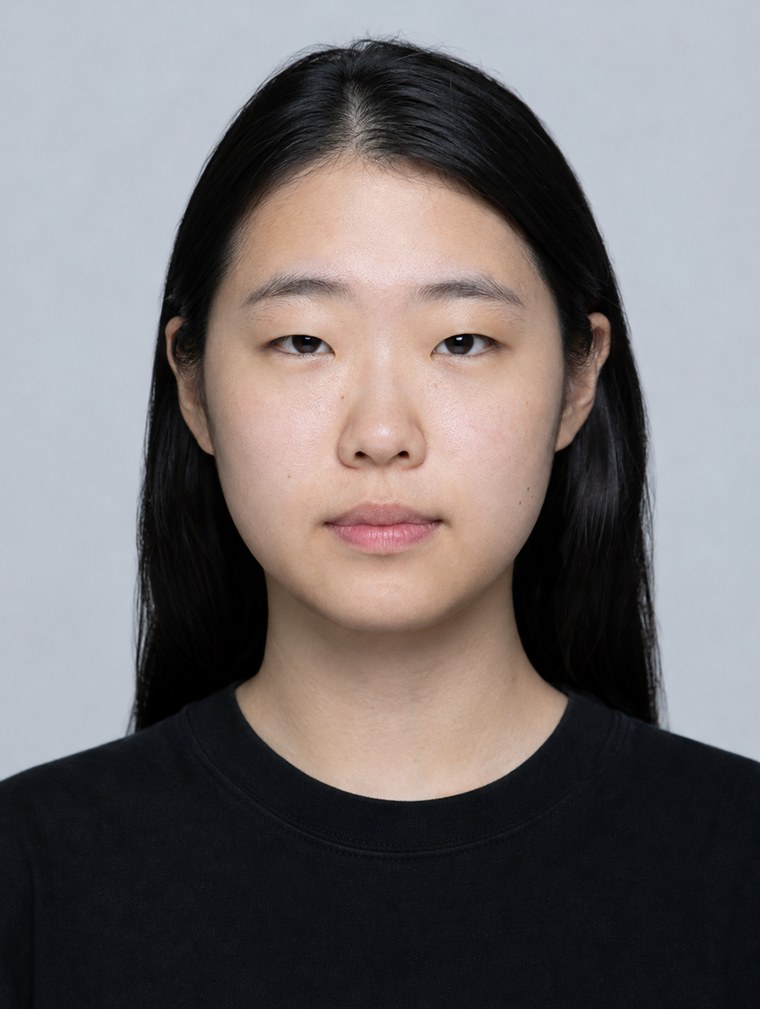 Original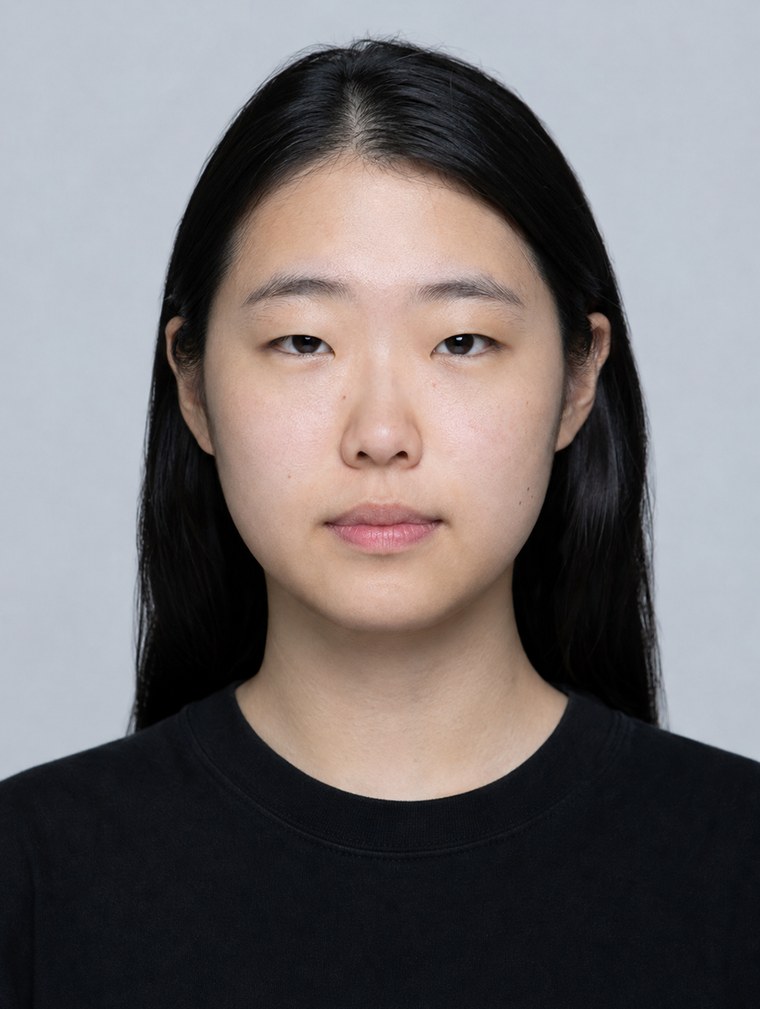
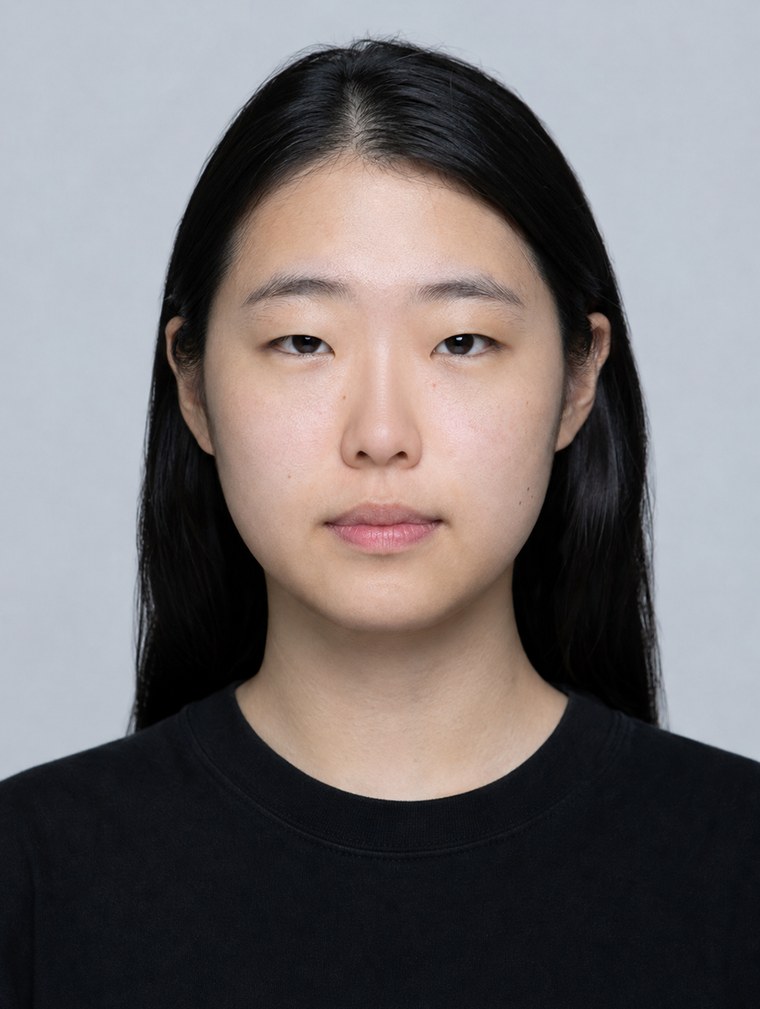
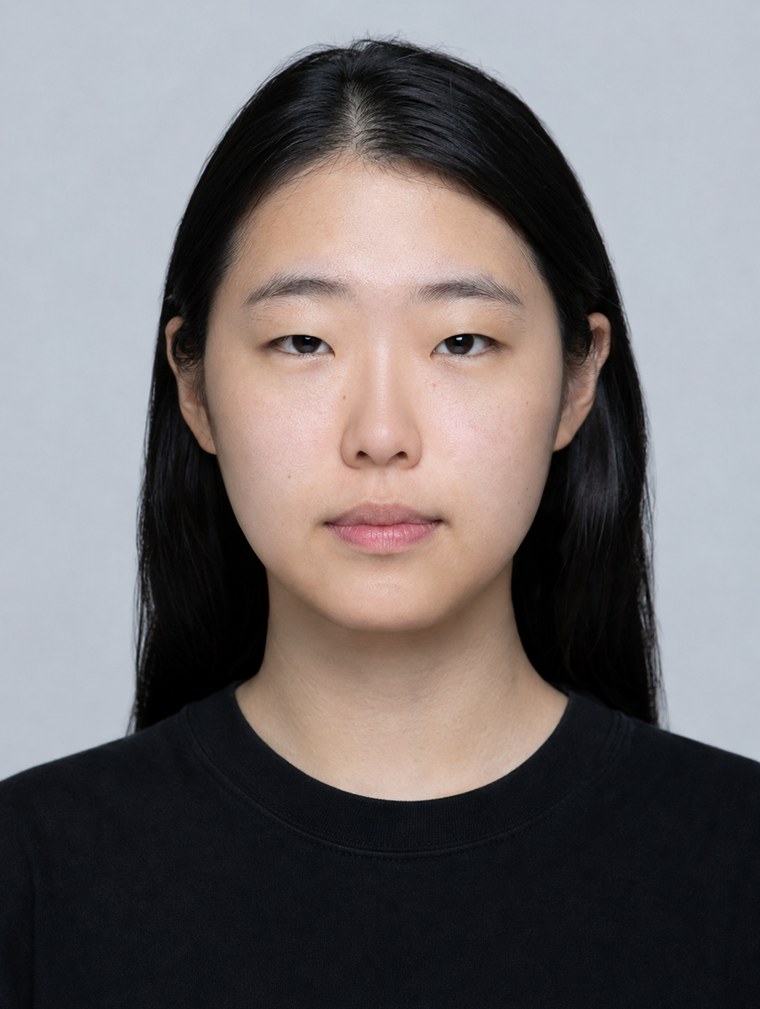
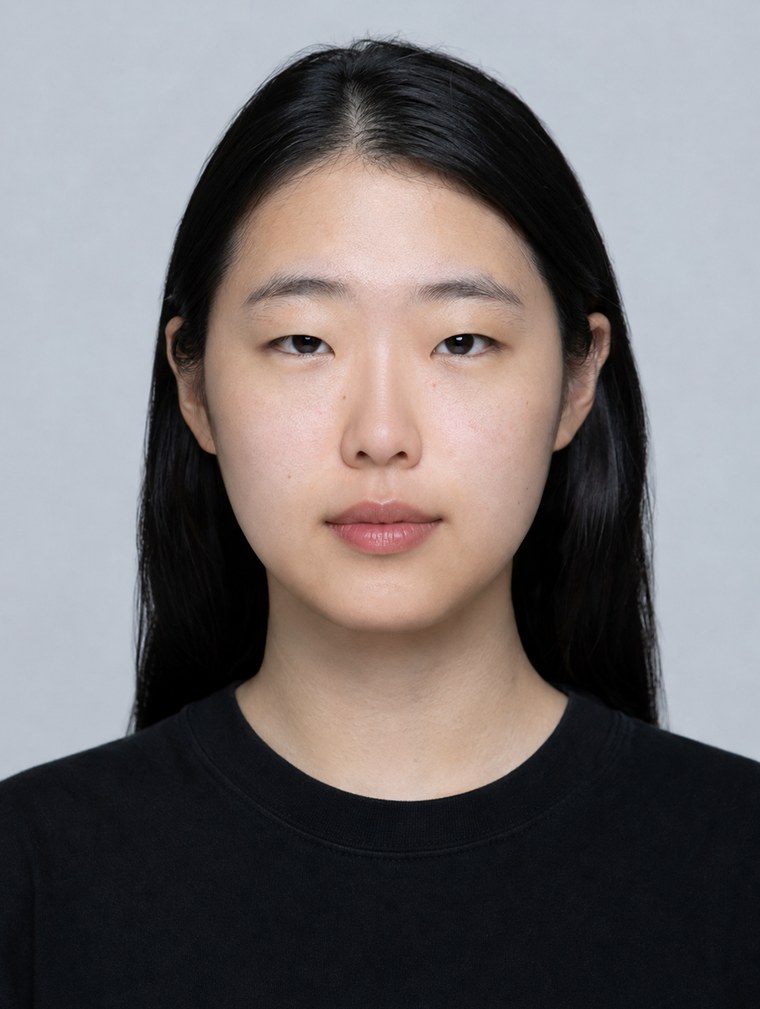
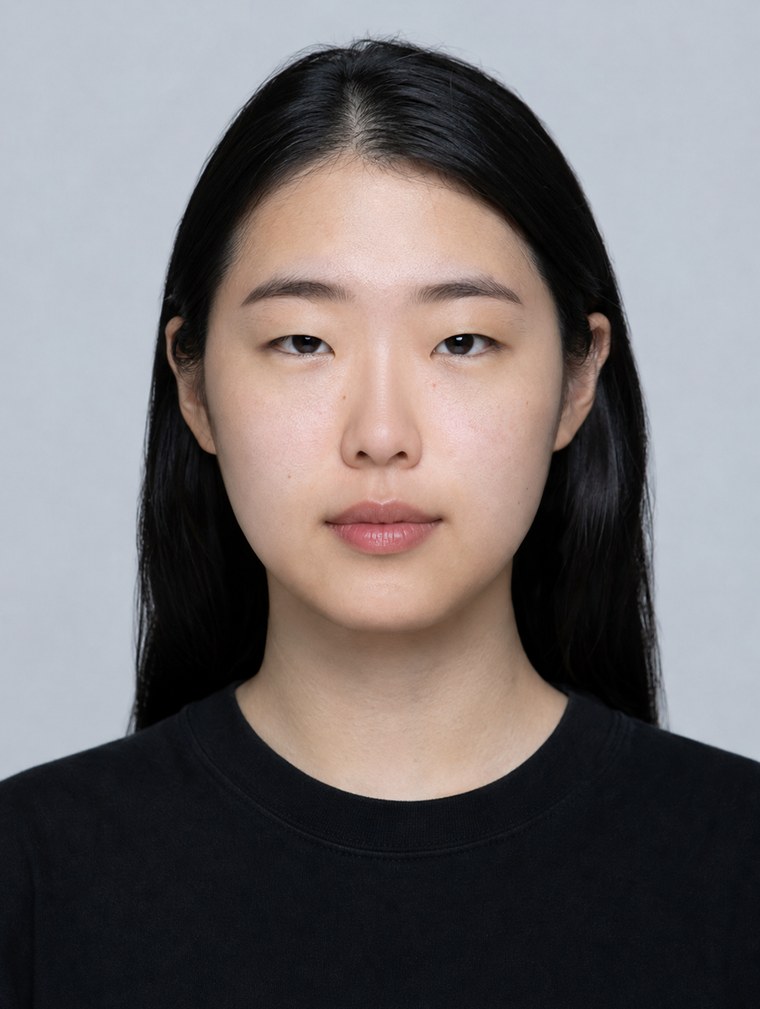
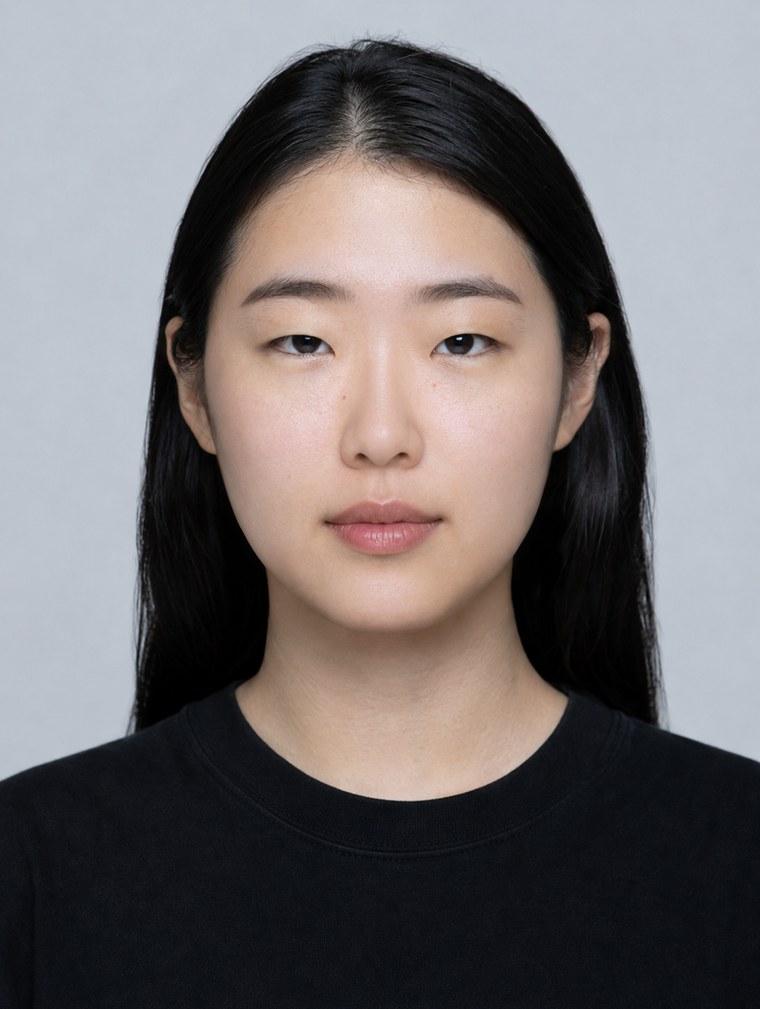
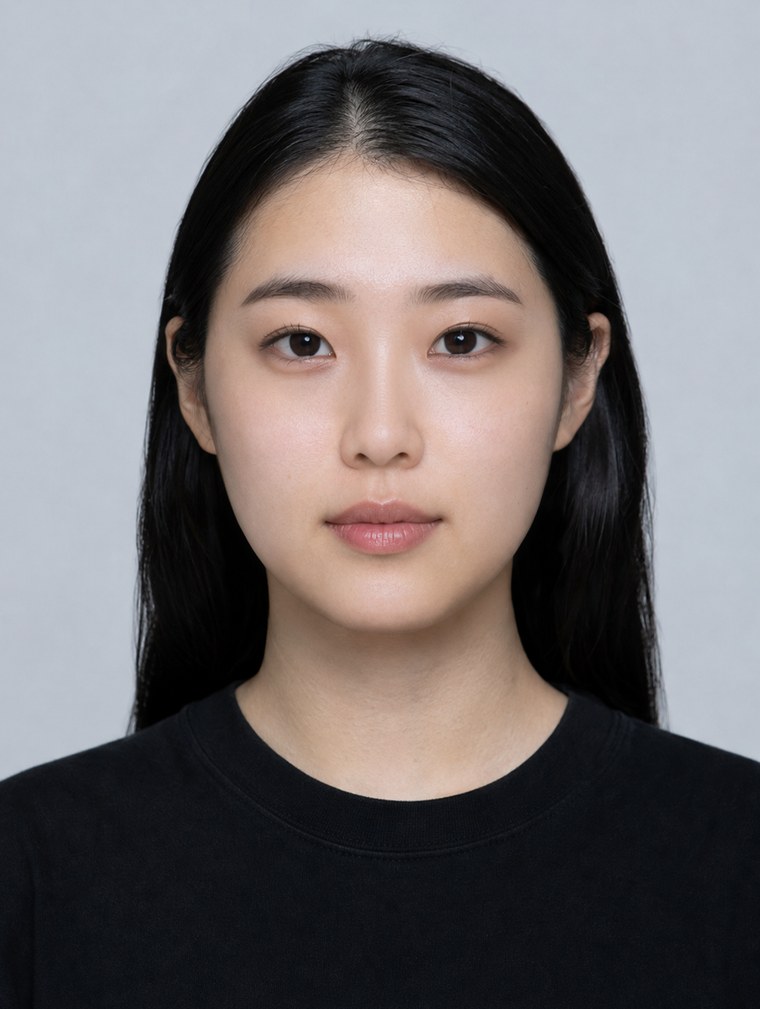
Original — The starting point.
① Alar reduction — The lower nose narrows.
② Raising the bridge — From the front, it barely shows.
③ Jaw and cheeks — The facial line changes most here.
④ Lips — The lip shape and fullness get tidied up.
⑤ Brows — The brow texture and angle settle in.
⑥ Skin — The skin texture and tone even out.
⑦ Eyes (in-line + aegyo-sal) — An in-line crease plus aegyo-sal, the soft band under the eyes. The last step, and the one that moves the impression most.
How much each step changed
We measured how far each step moved from the original. The bigger the number, the bigger the difference from the original.
| Step | Cumulative | What this step added |
|---|---|---|
| Alar reduction | 0.74 | +0.74 |
| Raising the bridge | 0.87 | +0.13 |
| Jaw and cheeks | 2.64 | +1.78 |
| Lips | 3.53 | +0.89 |
| Brows | 4.47 | +0.94 |
| Skin | 5.42 | +0.95 |
| Eyes (in-line + aegyo-sal) | 8.24 | +2.81 |
The biggest single-step difference came from the eyes, specifically the in-line crease plus aegyo-sal (+2.81), and the smallest from the nose bridge (+0.13). In a frontal photo, the bridge added less than any other step. That lines up with an earlier post explaining that the nose shows more clearly from the side.
So what does this tell us
In this run, changing a single feature left most of the gap to the reference photo in place. The two nose steps together accounted for only about 10% of the total change. That is why one feature alone couldn't reproduce the impression in the photo.
It also doesn't mean every step should be applied. The final result is also the face that has drifted furthest from the original. Where to stop comes down to taste, so building the step-by-step results and comparing them helps.